This post is for my sister (Hi, Sister!) and for all the readers out there who want to start making soup but need a basic tutorial to get started. I will lay out the basics of a basic soup and give you a couple of variations to get you started! The soup world is your oyster! Ok that doesn't really make sense. What I'm trying to say is, you can make any kind of soup that sounds good to you since Fall is right around the corner! Ok, here we go.
Ingredients:
You definitely need:
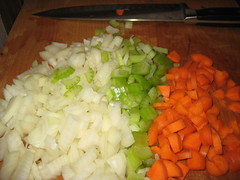
-1 onion, yellow or white, diced.
-2 carrots, diced.
-2 sticks of celery, diced.
-2-4 cloves of garlic, depending on your tastes, minced.
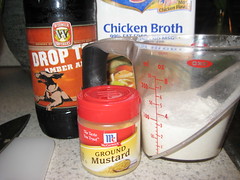
-chicken broth (2 boxes or 1 box + water and lots of seasonings) (or veggie broth or beef broth!)
-salt & pepper to taste
-generous amounts of any other seasonings you like or have on hand, such as oregano, curry, sage, dill, dry mustard, rosemary, chili powder, cayenne pepper, etc.
Then also pick up whatever veggies you like such as:
-mushrooms
-zucchini or other squash
-corn
-peas
-bell peppers
-potatoes
-canned crushed or diced tomatoes
-kale
Also try some meat such as:
-chicken breasts or tenders (pan fry and chop/shred or try
poaching!)
-turkey (same methods as chicken)
-meatballs (we favor the cheap and tasty ones from Ikea!)
-bacon (if using bacon, cook it first, then use the grease to cook the onions to add flavor! Add the bacon back in when the soup is almost done to warm it back up.)
-ground sausage (same method as bacon!)
Some other things you might want to try:
-Pasta - shells or penne work great
-egg noodles
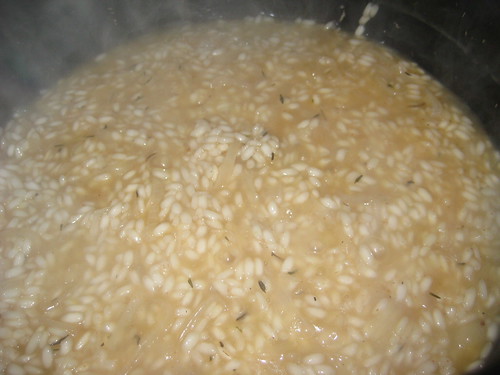
-rice - arborrio, jasmine, whatever
-barley
-beans - kidney, black
*One thing to keep in mind before you start, try to chop all your veggies into
similar-sized pieces.*
So, now that you have your ingredients all ready to go, here's what you do!
Process:
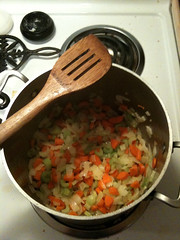
1. The first step in making soup is to dice up your onion and throw it in a pot with some butter and/or olive oil over medium heat. Stir the onions and let them cook down. This is called Sweating. Sweat the onions until they are nearly translucent. Probably about 7-10 minutes, depending how big you diced 'em.
2. Next, throw in your carrots, celery and garlic. Stir them around and let them cook with the onions for about 7-10 more minutes, still over medium heat, until the carrots are soft, but not too falling apart. This is also the step where I would recommend adding a lot of the spices that you want to use, so that the vegetables will soak them up while they are cooking.
3. Once your onions, carrots, and celery are looking pretty good, cooked and soft but not mushy, add in whatever other veggies you decided to use. My favorites are mushrooms (usually quartered or in slightly smaller chunks), followed by zucchini (cut into 1/4 thick rounds and then halved). The key is to add the veggies and sautee them in the order in which they cook. So carrots take a long time, that's why they are one of the first things to cook. zucchini cooks pretty quick, so its one of the last things you cook before you add the broth. Practice and experimenting make perfect!
4. Stir in your chicken broth. Raise the heat on your burner up to medium high and bring it to a boil. If you are adding in meat, pasta, rice, potatoes or any combination of those things, you will add those in with the broth so that they can cook in the broth. (Egg noodles cook very fast, so you can add those in towards the end rather than when you add the broth, they are the one pasta exception.) If you are using canned tomatoes, add those in at this point too. Once your broth is boiling, reduce the heat to a low temperature so that it can simmer for about 15-20 minutes. Once it's warm, I usually taste the broth and see if i want to add any other particular seasonings.
*If you used chicken, taste the broth before you put the chicken in! Also, once the chicken is cooked, remove it from the pot and shred it or dice it, then drop it back in*
5. If you added pasta or rice, once that's cooked, your soup is done. So keep an eye on it. Soggy pasta is gross. If you plan to add anything else that cooks quickly, such as canned corn, frozen peas, black beans, anything that pretty much just has to be warmed up, add that in the last 5 minutes or so of cooking. If you plan to add kale or any other leafy green that basically just has to wilt, add that in just before you serve it.
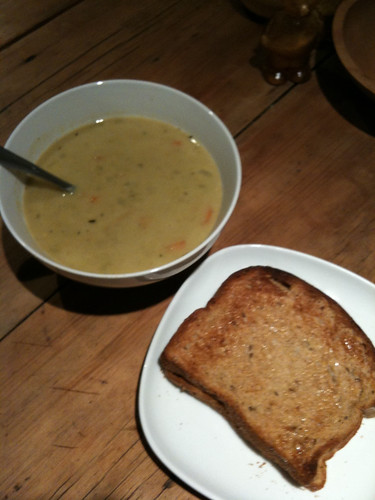
6. Once everything in the pot seems to be cooked and hot and flavored well, Serve it up! A nice big slice of delicious bakery fresh bread with butter spread on it is my favorite accompaniment to any bowl of soup.
As with most dishes, the leftovers are always almost better than the original meal!
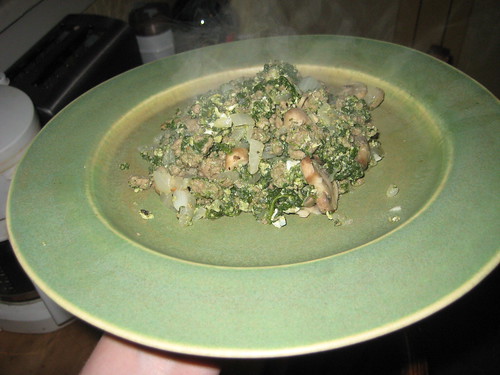
Here are some photos of a few recent soups V and I have made in the past couple weeks. I will tell you what we used for each, though all three were made using this same basic veggie type soup recipe that I detailed above.
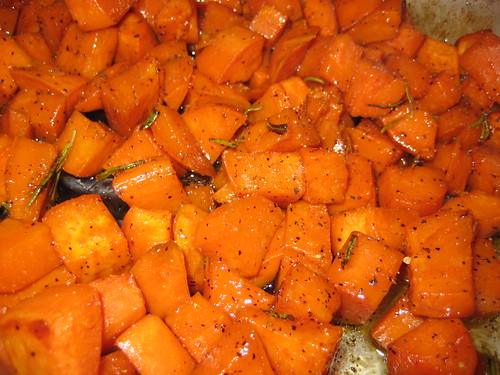
Soup #1:
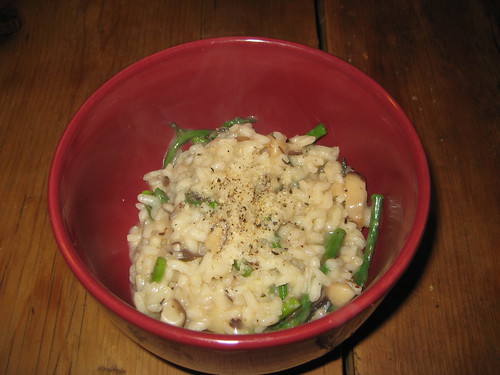
I had a hankering for some soup!
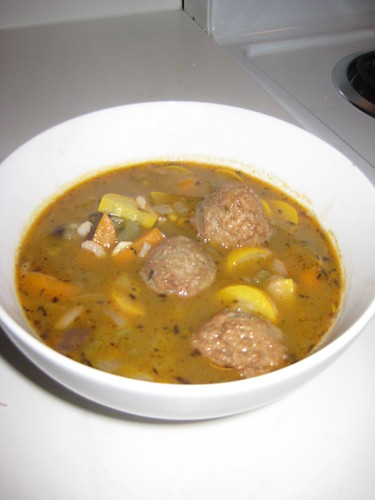
For this soup we used:
onion, carrots, celery, garlic, yellow squash, mushrooms, one box of chicken broth and some water plus a ton of seasonings, black beans, ikea meatballs, and pumpkin flavored prepackaged risotto including some of the seasoning that came with that. This soup turned out super spicy and super hearty thanks to all the risotto.
Soup #2:
I made this at my boyfriend's house only a few days later, because once I start making soup it's pretty much all I want to eat.
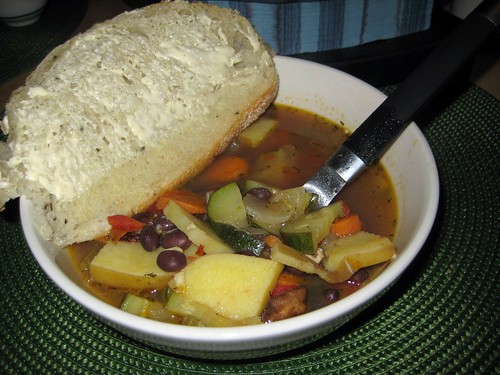
For this soup I used:
onion, carrots, celery, lots of garlic, 2 boxes of chicken broth, zucchini, mushrooms, potatoes (I wish I had cut them into smaller pieces!), and black beans. I don't have too many seasonings there, just salt, pepper, oregano, red pepper, and dill. I used quite a bit of all these. There was so much soup leftover that we had to pawn it off on a couple of his friends a few days later. They both had seconds!
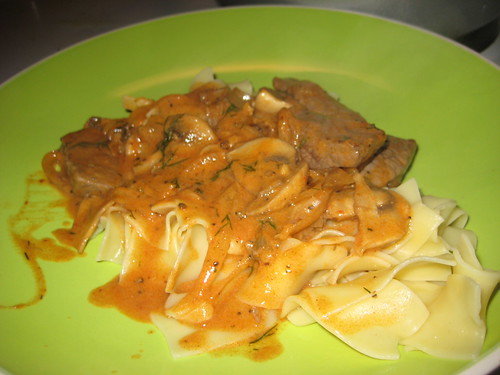
Soup #3:
This soup is very similar to the first soup I posted except I think it turned out a little better.
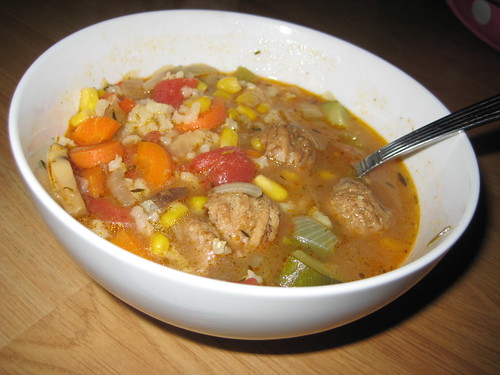
For this soup we used:
onion, carrots, celery, 1 box of reduced sodium chicken broth plus some water and lots of seasonings, mushrooms, a can of tomatoes, a can of corn, zucchini, ikea meatballs, and rice. The carrots in this one were perfectly cooked. Usually I like the carrots to sort of blend in, as I am not a huge fan. But in this soup they were just the right consistency and tasted really good. I don't know how that happened, but I think I declared this one of the best soups we had made, even better than the other meatball soup I posted (Soup #1!)
So, I hope this gets you started. These are the basics that got me hooked on making soup, and just typing all this makes me want some soup right now, and I already ate dinner! Fall is just around the corner, so get out your sweaters and scarves and fear not soup lovers! There will be plenty more fabulous and varied soups to come! In fact, I am going to make a goal of posting in this blog
at least twice a month. I have been slacking!
Happy souping!
P.S. Happy birthday to the best co-blogger and best muffin maker in the West!
Love you, V!