Chicken Pot Pie
slightly altered from Bon Appetit
Crust
2 cups all purpose flour
1 cup whole wheat flour
1 teaspoon baking powder
1 cup (2 sticks) chilled unsalted butter, cut into 1/2" cubes
1/4 cup vegetable shortening
Chicken
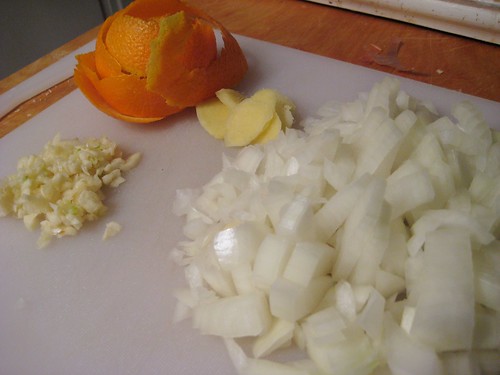
2 cups peeled, coarsely chopped carrots
1 large onion, coarsely chopped
1 leek, coarsely chopped
1 3-pound whole chicken
4 celery stalks, coarsely chopped
6 sprigs thyme
1 cup dry white wine
1 tablespoon salt
1 teaspoon whole black peppercorns
1 tablespoon tomato paste
Filling
2 tablespoons dried chanterelle or shittake mushrooms
1 cupo 1/2" slices of carrots
1 cup fresh (or frozen, thawed) peas
1 cup fresh (or I used frozen already peeled) pearl onions
1/2 cup (1 stick) unsalted butter
3/4 cup all purpose flour
6 fresh sage leaves
4 thyme sprigs
2 sprigs rosemary
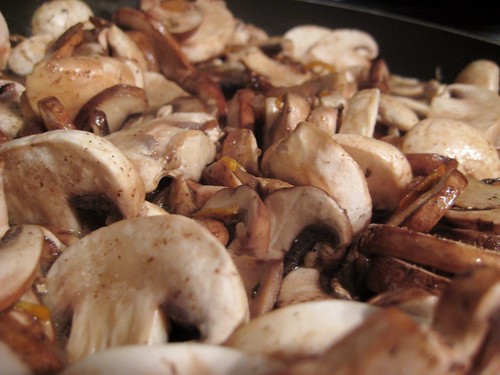
1 cup button mushrooms
1 cup 1/4" rounds sliced fingerling potatoes
1 egg, beaten to blend
coarse sea salt and ground pepper
PREPERATION:
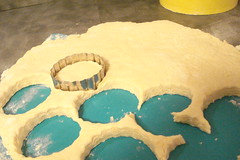
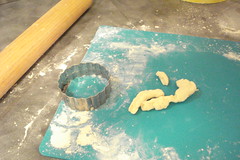
Crust
Mix flour, salt, and baking powder in a food processor. Add cubed butter and shortening and process until mixture resembles coarse meal with some pea-size lumps. With machine running, add 1/2 cup ice water and process, adding more water by teaspoonfuls if dry, until dough forms. Form dough into a ball; flatten into a disk. Wrap in plastic and refrigerate for 30 minutes. Line a baking sheet with parchment paper. Place chilled dough on a lightly floured surface and roll out to a 12x9 1/2" rectangle, about 1/4" thick. Place on prepared sheet and cover tightly with plastic wrap. Chill. DO AHEAD: Can be made 6 hours ahead. Keep chilled.
Chicken
Preheat oven to 400°. Place carrots, onion, and leek on a rimmed baking sheet and roast until golden brown, about 30 minutes. Transfer to a large pot fitted with a lid. Add chicken, breast side down, celery, thyme sprigs, wine, salt, and peppercorns to pot. Add 8 cups water to cover and bring to a boil. Reduce heat to low and simmer gently for 10 minutes. Remove pot from heat, cover, and poach chicken until cooked through, about 35 minutes.
Remove chicken from pot and set aside until cool. Reserve broth. Shred meat; discard skin and bones. Set a large strainer over another pot. Strain broth into clean pot. Stir in tomato paste. Return to medium heat and simmer, uncovered, until reduced to 5 cups, about 40 minutes. DO AHEAD: Can be made 1 day ahead. Chill uncovered until cool. Cover chicken and broth separately; keep chilled. Rewarm broth before continuing.
Filling
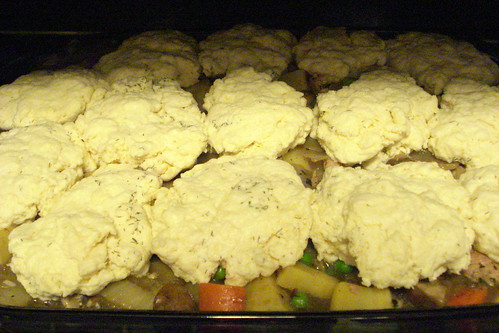
Place dried chanterelles in a small bowl and cover with 1 cup hot water. Let steep for 10 minutes; set aside. Reserve soaking liquid. Cook carrots in a large saucepan of boiling salted water until crisp-tender, about 2 minutes. Using a slotted spoon, transfer to a medium bowl. Add peas to saucepan; cook for 1 minute; transfer to bowl with carrots. Add onions to saucepan and cook until crisp-tender, about 2 minutes. Remove from pot and set aside; let cool. Peel onions. In a large heavy saucepan, melt butter over medium heat. Whisk in flour. Cook over medium-low heat, whisking constantly, until golden brown, about 10 minutes. Whisk in herbs and warm broth from chicken. Using a slotted spoon, transfer chanterelles to saucepan. Pour in soaking liquid, leaving sediment behind. Simmer for 20 minutes. Set a strainer over another large pot. Strain broth into pot; discard solids. Add chicken, carrots, peas, onions, mushrooms, and potatoes. Bring to a simmer. DO AHEAD: Can be made 1 day ahead. Chill uncovered until cool; cover and keep chilled. Rewarm before continuing. Preheat oven to 400°. Spoon filling into an 11x8x2" or 2 1/2-qt. round baking dish. (Add pie bird, if using.) Top with pastry, pinching edges to seal. If not using pie bird, cut a 1" slit in center of crust for steam to vent. Brush pastry with beaten egg, and sprinkle with sea salt and pepper, if desired. Place pot pie on a rimmed baking sheet. Bake until crust is golden brown and filling is bubbly, about 45 minutes.
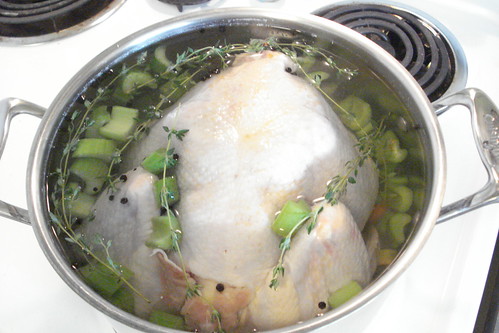
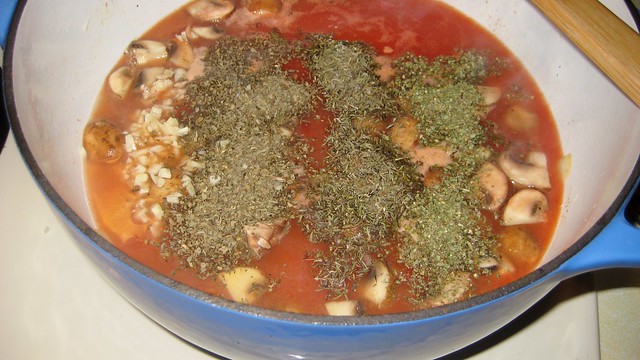
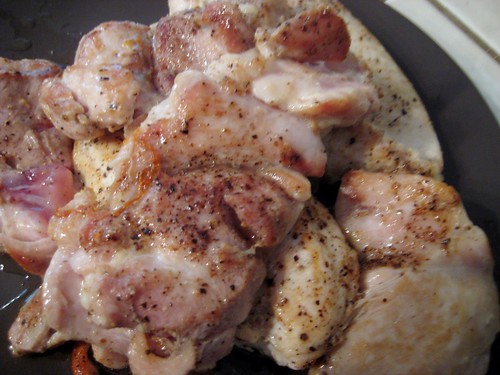
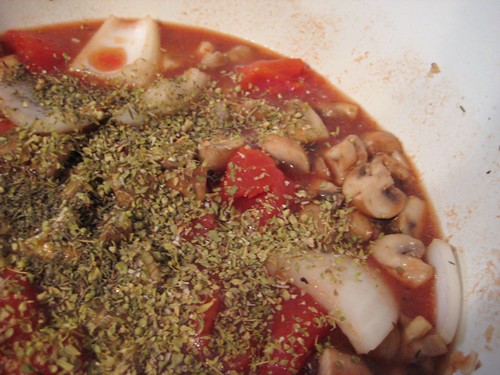
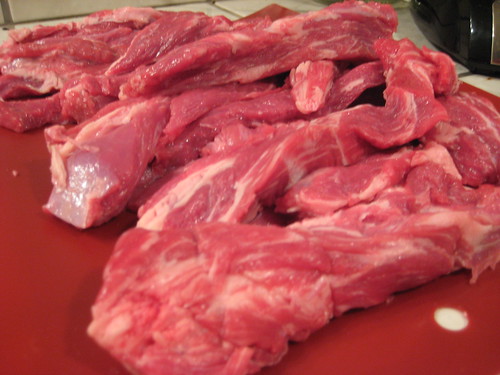
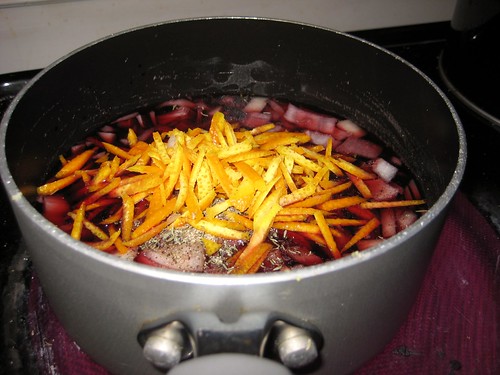
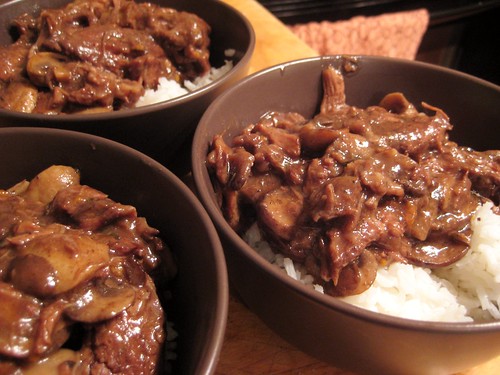
Poaching the chicken and making the stock base
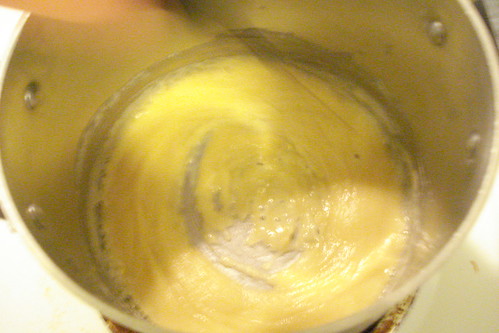
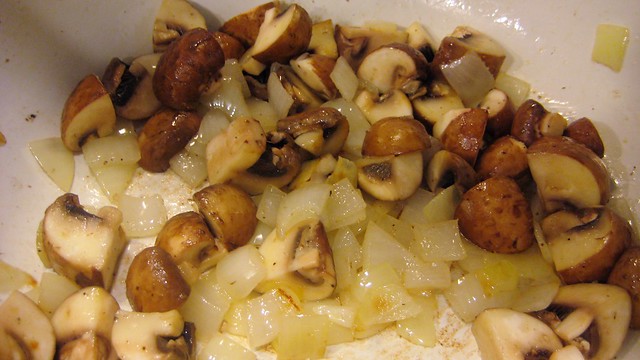
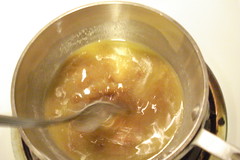
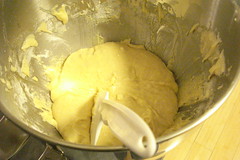
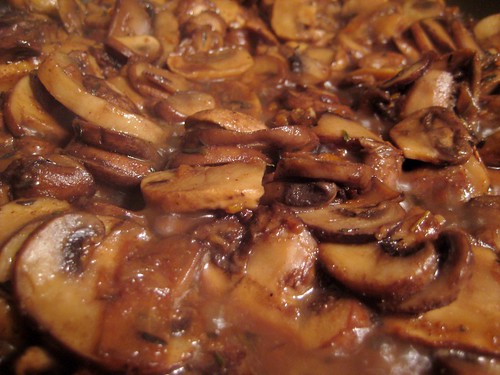
Stirring the roux
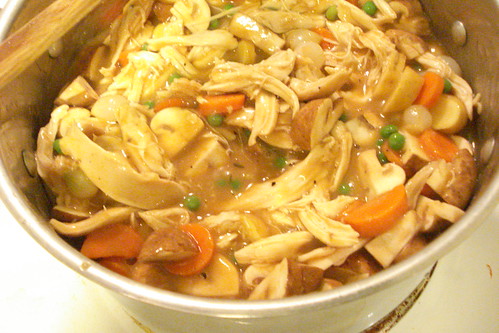
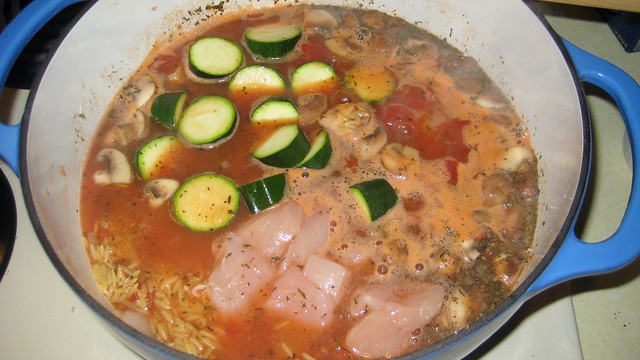
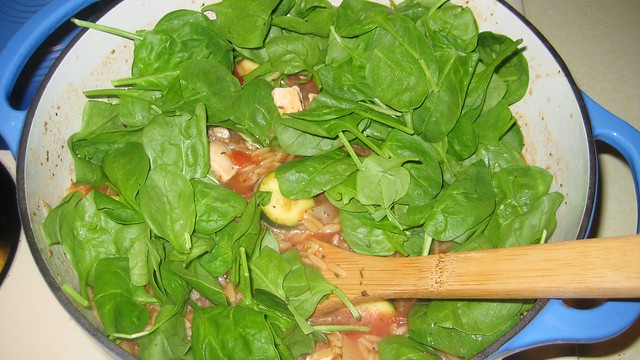
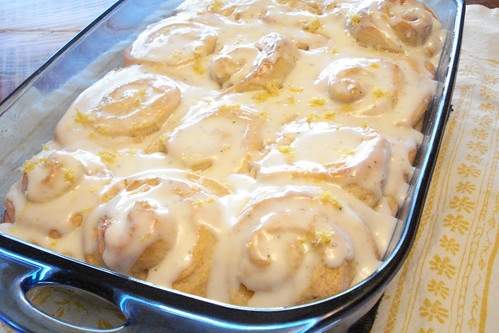
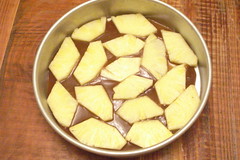
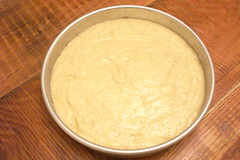
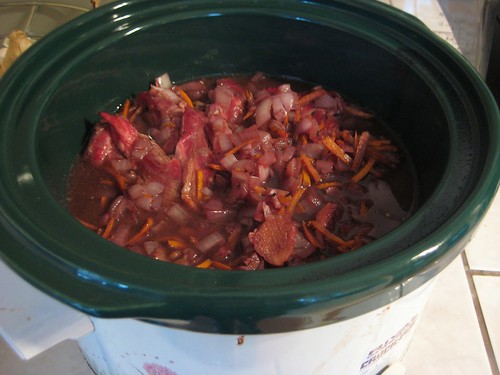
The filling. so good
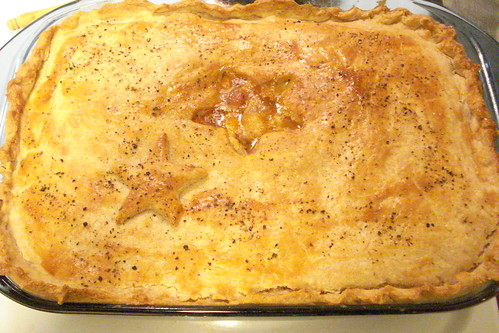
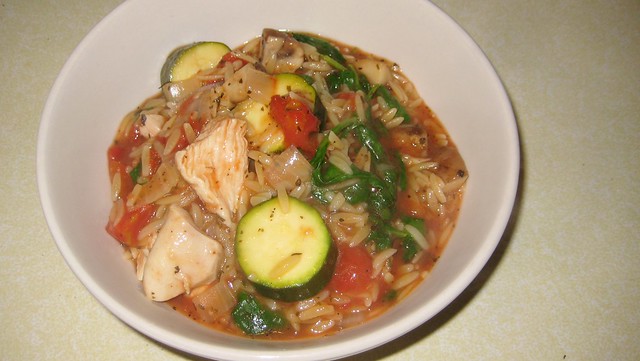
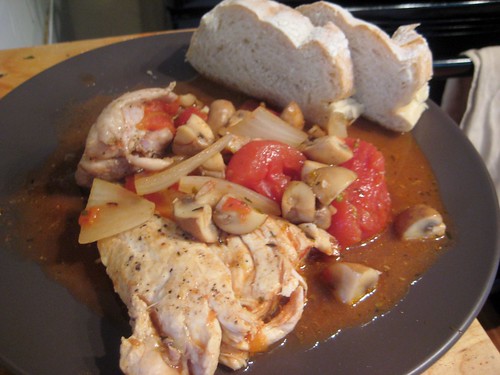
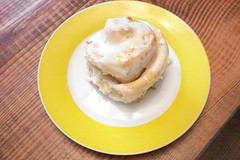
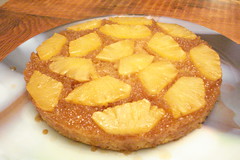
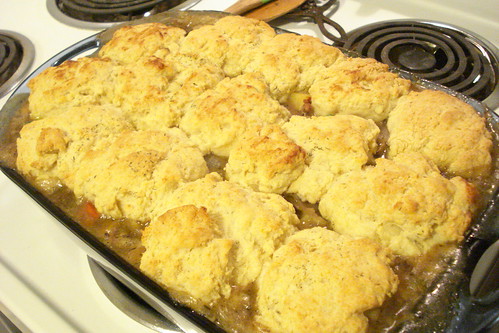
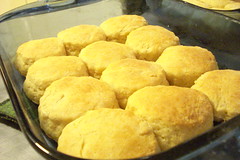
et voila